Why Accuracy, Precision, and Calibration Matter for Engineering Outcomes
When 3D LiDAR scanning is used for engineering, fabrication, or certification, the most important question is not how detailed the point cloud looks, but whether the measurements can be trusted.
This is where AS ISO 5725 — Accuracy and Precision of Measurement becomes relevant. While AS ISO 5725 is not written specifically for LiDAR scanners, it defines the principles that determine whether any measurement system is suitable for engineering use.
In practical terms, AS ISO 5725 separates data that can support engineering decisions from data that is visually convincing but technically unreliable.
What AS ISO 5725 Covers
AS ISO 5725 defines how measurement systems should be evaluated in terms of:
- Accuracy
- Precision
- Repeatability
- Reproducibility
- Measurement uncertainty
These principles apply directly to 3D LiDAR scanning because a LiDAR scanner is, at its core, a measurement instrument. When scanning data is used to inform design, fabrication, or certification, the expectations set by AS ISO 5725 apply regardless of scanner brand or software.
This is why engineering-grade 3D LiDAR scanning requires more than simply capturing a dense point cloud. It requires controlled measurement, understood uncertainty, and validated outputs, as delivered through engineering-grade 3D laser scanning workflows:
https://www.hamiltonbydesign.com.au/home/engineering-services/3d-laser-scanning/
Accuracy vs Precision in LiDAR Scanning
AS ISO 5725 makes a clear distinction between accuracy and precision, a distinction that is often misunderstood in reality capture.
Accuracy describes how close a measurement is to the true value.
Precision describes how consistently the same measurement can be repeated.
A LiDAR scan can appear highly precise, with clean and consistent geometry, while still being inaccurate if the scanner is miscalibrated or poorly controlled. In engineering terms, repeatable errors are still errors.
For engineering and fabrication, both accuracy and precision are required.
The Role of Calibration
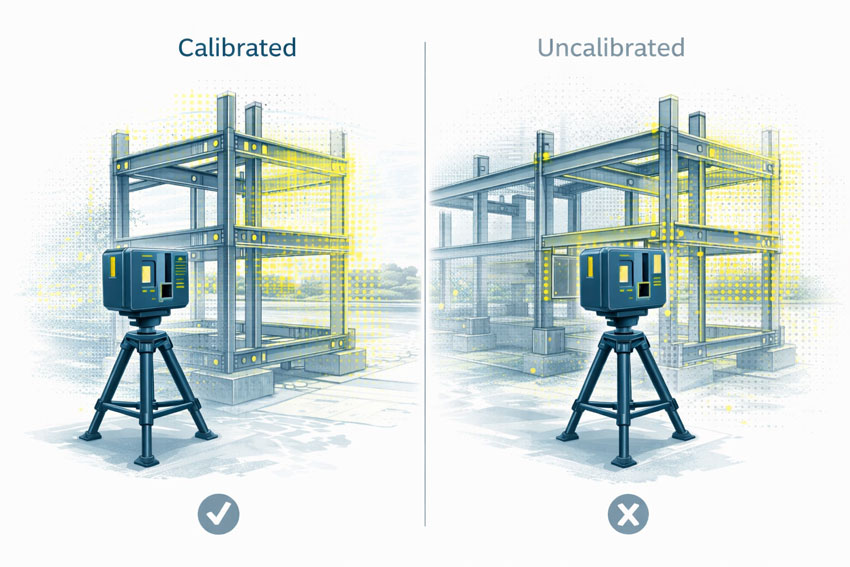
Calibration ensures that a scanner’s distance and angular measurements align with known reference values. Without calibration, a LiDAR scanner may still operate normally and still produce visually impressive results, but the measurements no longer have a known or defensible level of uncertainty.
Calibration directly affects:
- Distance measurement
- Angular accuracy
- Alignment between internal sensors
- Registration between multiple scans
AS ISO 5725 does not prescribe how calibration must be performed, but it does establish the expectation that measurement uncertainty is understood and controlled.
What Happens When Scanning Is Not Calibrated
When LiDAR scanning is not properly calibrated or verified, errors propagate into every downstream deliverable.
Common outcomes include:
- Fabricated steelwork that does not fit on site
- Bolt holes and connection points outside tolerance
- Frames requiring on-site modification or rework
- Assumed clearances that do not exist in reality
- Delays or challenges during engineering sign-off
These issues are often discovered late in a project, where the cost of correction is highest. The root cause is frequently measurement error introduced at the scanning stage, not fabrication quality.
This is particularly critical in design-for-fabrication workflows, where scanning data is used to develop fabrication-ready designs:
https://www.hamiltonbydesign.com.au/fabrication-product-design/
The Compounding Effect of Small Errors
One of the most significant risks in unverified scanning workflows is that errors are often small enough to go unnoticed early.
A few millimetres of error at the scanning stage can compound into much larger discrepancies once geometry is modelled, detailed, and fabricated. Across multiple interfaces, these small deviations can lead to misalignment, rework, or compromised installation quality.
For fit-first-time fabrication, this risk is unacceptable.
Engineering Responsibility and Certification Risk
When LiDAR data is used to support engineering decisions, responsibility does not sit with the scanner or the software. It sits with the engineer relying on the data.
If measurements cannot be demonstrated as accurate, repeatable, and appropriately controlled, they are not suitable to support engineering sign-off. This is particularly relevant where scanning data contributes to certification outcomes, where accountability and defensibility are essential.
Engineering certification must be based on verified measurements, supported by controlled data capture and documented processes:
https://www.hamiltonbydesign.com.au/home/engineering-services/engineering-certification/
Why AS ISO 5725 Matters in Practice
AS ISO 5725 is not about paperwork or compliance for its own sake. It provides the framework that ensures measurement data used for engineering decisions is fit for purpose.
When LiDAR scanning is undertaken with accuracy, precision, and calibration treated seriously, it becomes a powerful engineering tool. When these principles are ignored, scanning becomes a source of hidden risk that only emerges when it is too late to correct cheaply.

Final Thought
3D LiDAR scanning is only as reliable as the measurement discipline behind it.
AS ISO 5725 provides the foundation for understanding whether scanning data can be trusted. In engineering, fabrication, and certification contexts, that trust is not optional — it is essential.
Our clients:


