When Parts Don’t Fit, Shutdowns Fail
Every shutdown fitter, maintenance crew member, and supervisor has lived the same nightmare:
A critical part arrives during shutdown.
The old part is removed.
Everyone gathers, ready to install the new one.
Production is waiting.
The pressure is on.
And then—
the part doesn’t fit.
Not 2 mm out.
Not 10 mm out.
Sometimes 30–50 mm out, wrong angle, wrong bolt pattern, wrong centreline, or wrong geometry altogether.
The job stops.
People get frustrated.
Supervisors argue.
Fitters cop the blame.
The plant misses production.
And someone eventually says the words everyone hates:
“Put the old worn-out chute back on.”
This blog is about why shutdowns fall apart like this… and how 2 mm LiDAR scanning finally gives fitters a system that gets it right the first time.
The Real Reason Parts Don’t Fit
Most shutdown failures have nothing to do with the fitter, nothing to do with the workshop, and nothing to do with the installation crew.
Parts don’t fit because:
- Wrong measurements
- Bad drawings
- Outdated as-builts
- Guesswork
- Fabricators “eyeballing” dimensions
- Cheap non-OEM parts purchased without geometry verification
- Designers who have never seen the site
- High staff turnover with no engineering history
- Wear profiles not checked
- Intersection points impossible to measure manually
Fitters are then expected to make magic happen with a tape measure and a grinder.
It’s not fair. It’s not professional. And it’s completely avoidable.

Shutdown Pressures Make It Even Worse
When a part doesn’t fit during a shutdown:
- The entire job stalls
- Crews stand around waiting
- The supervisor gets hammered
- The fitter gets the blame
- Other shutdown tasks cannot start
- The clock ticks
- Production loses thousands per hour
- Everyone becomes stressed and angry
And the worst part?
You were only replacing the part because the existing one was worn out.
Now you’re bolting the worn-out one back on.
This isn’t good enough.
Not in 2025.
Not in heavy industry.
Not when there is technology that eliminates this problem completely.

Why Manual Measurement Fails Every Time
Fitters often get asked to measure:
- Inside chutes
- Wear sections
- Pipe spools with intersection points
- Tanks too large to measure from one position
- Walkways too long for tape accuracy
- Geometry with no records
- Components 10+ metres above ground
- Hard-to-reach bolt patterns
- Angles and centrelines distorted by wear
But some measurements simply cannot be taken safely or accurately by hand.
You can’t hang off an EWP 20 metres up measuring a worn flange angle.
You can’t crawl deep inside a chute trying to measure intersecting surfaces.
You can’t take a 20-metre walkway measurement with a tape measure and hope for precision.
This is not a measurement problem.
This is a method problem.
Manual measurement has hit its limit.
Shutdowns have outgrown tape measures.
This Is Where 2 mm LiDAR Scanning Changes Everything
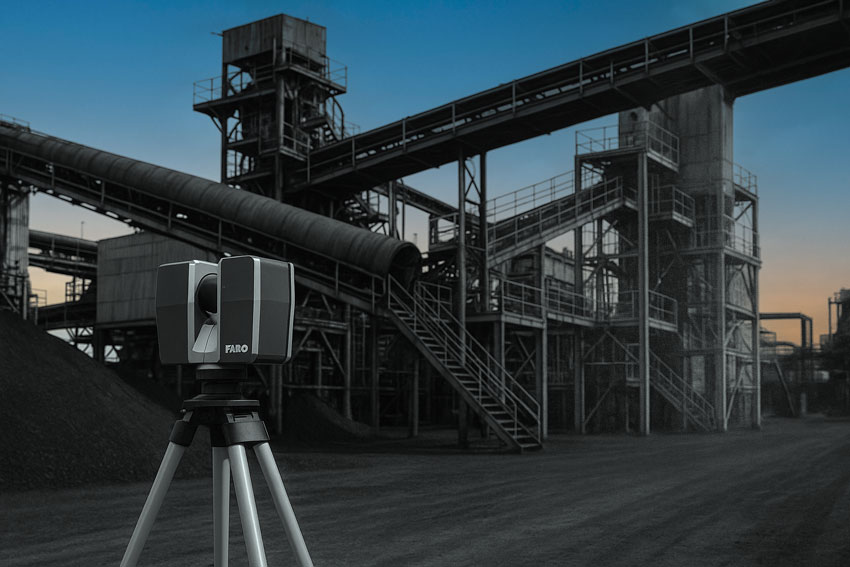
Hamilton By Design uses 2 mm precision LiDAR scanning to capture the exact geometry of a site — even in areas that are:
- Too high
- Too big
- Too unsafe
- Too worn
- Too complex
- Too tight
- Too distorted to measure manually
From the ground, up to 30 metres away, we can capture:
- Wear profiles
- Flange positions
- Bolt patterns
- Pipe centrelines
- Chute geometry
- Conveyor interfaces
- Complex intersections
- Ductwork transitions
- Mill inlet/outlet shapes
- Tank dimensions
- Walkway alignment
- Structural deflection
- Existing inaccuracies
No tape measure. No guesswork. No EWP. No risk.
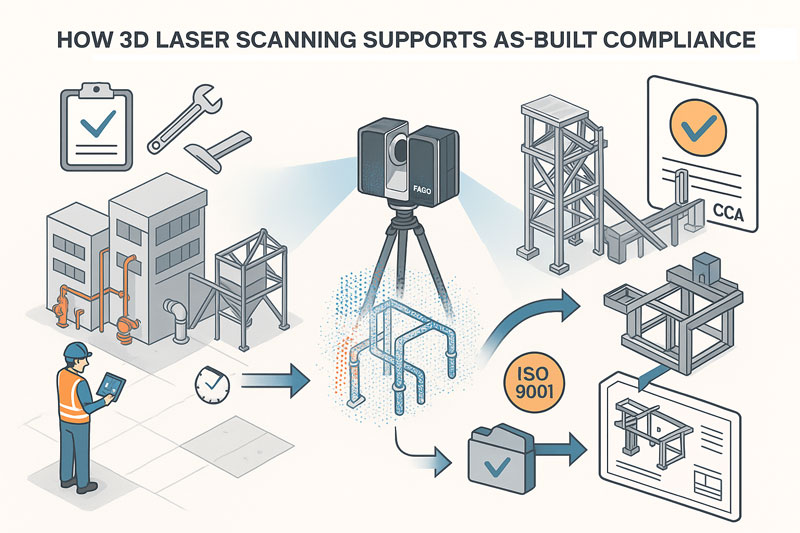
The result is a perfect 3D point cloud accurate within 2 mm — a digital version of real life.
2 mm Scanning + Fitter-informed Design = Parts That Fit First Time
This is where Hamilton By Design is different.
We don’t just scan and hand the files to a drafter who’s never set foot on-site.
We scan and your parts are modelled by someone who:
- Has been a fitter
- Understands how parts are installed
- Knows what goes wrong
- Knows how to design parts that actually fit
- Knows where shutdowns fail
- Knows what to check
- Knows what NOT to trust
- And most importantly — knows where the real-world problems are hidden
This fitter-informed engineering approach is why our parts fit the first time.
And why shutdown crews trust us.
Digital QA Ensures Fabrication Is Correct Before It Leaves the Workshop
Once the new chute, spool, or component is modelled, we run digital QA:
- Fit-up simulation
- Clash detection
- Tolerance analysis
- Wear profile compensation
- Reverse engineering comparison
- Bolt alignment verification
- Centreline matching
- Flange rotation accuracy
- Structural interface checks
If something is out by even 2–3 mm, we know.
We fix it digitally — before the workshop cuts steel.
This stops rework.
This stops shutdown delays.
This stops blame.
This stops stress.
This is the future of shutdown preparation.

Accuracy of 3D LiDAR Scanning With FARO
When the Part Fits, Everything Runs Smooth
Here’s what actually happens when a chute or spool fits perfectly the first time:
- The plant is back online faster
- No rework
- No reinstalling old worn-out parts
- No arguing between fitters and supervisors
- No unexpected surprises
- No extra access equipment
- No late-night stress
- No grinding or “making it fit”
- Other shutdown tasks stay on schedule
- Everyone looks good
- Production trusts the maintenance team again
Shutdowns become predictable.
Fitters become heroes, not last-minute problem-solvers.
Shutdown Example (Anonymous but Real)
A major processing plant needed a large chute replaced during a short shutdown window.
Access was limited.
The geometry was distorted.
Measurements were impossible to take safely.
The workshop needed exact dimensions, fast.
Hamilton By Design scanned the entire area from the ground — no EWP, no risk.
We produced:
- Full 2 mm point cloud
- As-built 3D model
- New chute design
- Digital fit-up validation
- Workshop-ready drawings
The new chute arrived on site.
The old chute came out.
The new chute went straight in.
Zero rework.
Zero stress.
Plant online early.
The supervisor called it the smoothest shutdown they’d had in 10 years.
Why Fitters Should Reach Out Directly
Sometimes fitters know more about what’s really happening on-site than anyone in the office.
Fitters see the problems.
Fitters carry the blame.
Fitters deal with the rework.
Fitters just want parts that fit.
So we’re making this simple:
If you’re tired of fitting parts that don’t fit —
If you’re tired of fixing other people’s mistakes —
If you’re tired of shutdown stress —
Call Hamilton By Design.
We scan it.
We model it.
We get it right.
Every time.
Services Featured
Hamilton By Design offers:
- 3D LiDAR laser scanning (2 mm precision)
- 3D modelling by a fitter-engineer who understands real-world installation
- Digital QA before fabrication
- Reverse engineering of worn components
- Shutdown planning support
- Fabrication-ready drawings
- Fit-up simulation
- Clash detection between old and new parts
This is how shutdowns run smooth.

Call to Action
Are you a Fitter: tired of parts that don’t fit?
Email or Call Hamilton By Design.
Email – info@hamiltonbydesign.com.au
Phone – 0477002249
Would you Like to Know more?


